What Is an Online Photobooth? A No-Nonsense Guide
An online photobooth lives in a browser tab instead of a physical box. Here is how it works, what happens to your photos, and how it stacks up against apps and physical booths.
READ STORY →✦ Guides
Four frames or six changes how a strip prints and how it feels on a wall. Here is a side-by-side look, plus how the Y2KIBOOTH strip comes together.
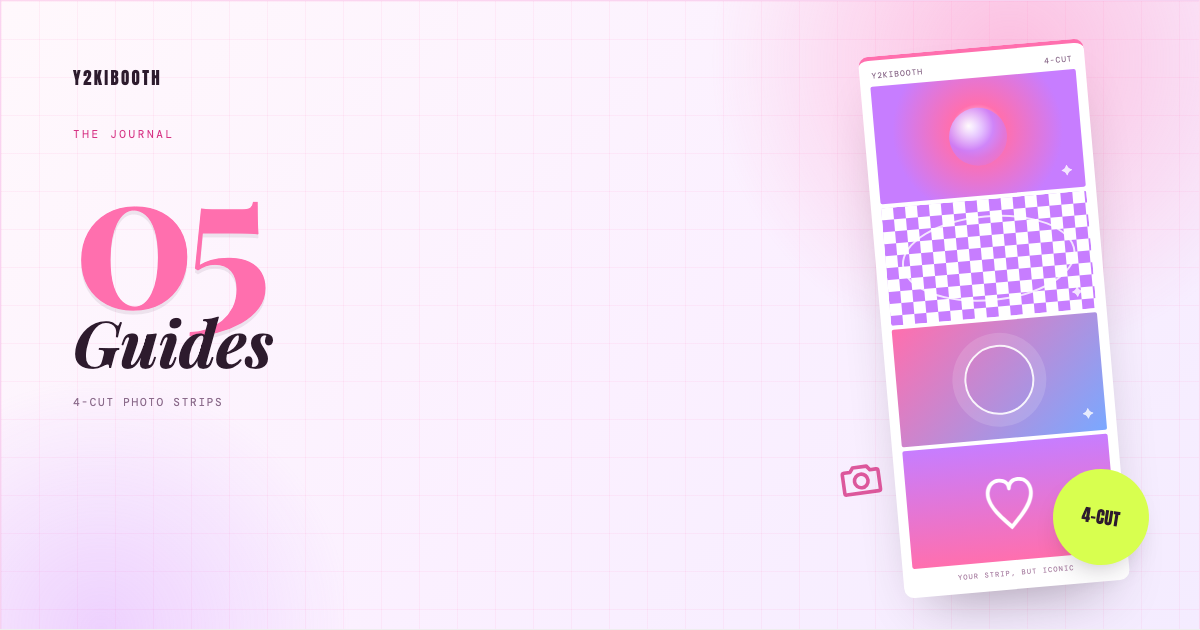
Choosing between 4-cut photo strips and 6-cut strips is really a question about how many frames you want from a single session and how you want them arranged. The two layouts feel very different once they are printed and stuck on a wall, so it is worth deciding before anyone starts shooting.
Here is how each layout works, where it shines, and how the Y2KIBOOTH strip is put together in the first place.
A 4-cut strip stacks four frames in a vertical column, so the print is tall and narrow. Four photos means four expressions, four poses, or the same pose with four different moods. Because the strip is taller than it is wide, it fits a phone screen naturally and stays readable in a grid on a wall.
Four frames also gives everyone time. You are not racing to fit six poses into one sitting, which makes 4-cut strips the friendlier option for groups where not everybody is a natural performer in front of a camera.
A 6-cut strip stacks six frames vertically, giving you more content in a similar shape but a longer, thinner print. The extra two frames are the appeal: you can capture a small sequence, such as a reaction that builds over the last two shots, or a run of poses that only reads properly as a set.
The cost is coordination. Six frames in a row means the print occupies a narrower slice of a physical sheet, so it prints smaller, and the sequence needs a bit of rehearsal to land well.
Y2KIBOOTH produces a single 4-cut vertical strip from every session. Four shots fire on an automatic 3-2-1 countdown, and the result is exported as an HD PNG at 600 by 1722 pixels, tall enough to stay sharp when printed.
The strip arrives framed in the style you picked: Chrome, Bubble, Lilac, Lime, Midnight, or Glitch. Because the capture and the layout run locally in the browser, nothing is uploaded, and there is no signup between choosing a frame and taking the shot.
The default is right for most sessions, but a couple of situations call for a change. If you want a longer sequence, shoot two sessions with two different frames and stack the strips together when you print, and four frames become the opening of a longer set.
Vary the filter between sessions instead of trying to cram more frames into one shot. A different filter makes two four-frame strips feel like two distinct photos rather than a repeat of the same idea.
Events and brand collaborations can request a custom frame built for them by writing to the feedback button. For ideas on what to do inside each of the four frames, the guide to making a Y2K photo strip covers poses and sequencing.
Strips print at 2 by 6 inches, and a 4 by 6 print fits two strips side by side, so one sheet yields a pair. Getting the size right matters more than it sounds, and the printing guide covers the practical details.
Ready to shoot? Open the booth from the homepage and take a four-shot strip in under a minute.
An online photobooth lives in a browser tab instead of a physical box. Here is how it works, what happens to your photos, and how it stacks up against apps and physical booths.
READ STORY →The gap between a photobooth website and an app is mostly about friction. Here is how each one behaves at a real event, and which to pick.
READ STORY →A webcam photobooth needs a laptop, a bit of light, and about ten seconds of permission granting. Here is the full routine, start to finish.
READ STORY →